Vectorial screenshots in your slides
I recently had to put screenshots of my terminal in my slides (PDF generated by Beamer via Pandoc). While doing a naive screenshot as raster graphics is fast, the heavy image size and the impossibility to copy/paste the code I typed in the terminal is a no-go for me. As I lost a couple of hours and a bit of sanity to find a working combination of tools to generate clean vector graphics from terminal sessions, I thought it would be interesting to share this in this post.
Recording terminal sessions
The first problem is how to record what you type in a terminal to some file format. I found two main programs to do this: asciinema and termtosvg. Both programs are easy-to-use:
Open your terminal
Run
asciinemaortermtosvg, which opens a session (shell) in your terminalType whatever commands you want — typed commands and printed results are stored
Leave the session (Ctrl+D)
asciinema is very convenient to use if you want to play your session on a web interface. They provide a javascript player that can be embedded on your web pages and a free service to host your sessions. Command-line is well made and you can easily store your session in a JSON file in asciicast-v2 format. Unfortunately, I could not find usable tools to transform frames of the video into vector graphics. I found some tools written in javascript (asciicast-to-svg, svg-term-cli) but they were not packaged in Nix nor easy to package (I never packaged anything in javascript for now, and staying as far away from js as possible is fine for me :p). Also, none of these tools seem able to render all useful frames directly as I write these lines. I do not want a video in my slides, I want to control when to switch from one frame to the next but they took the debatable decision to have a time point as input to decice which frame to export, which would be quite annoying for my use case.
termtosvg also has a well made command-line interface.
By default it generates an animated SVG file but the --still-frames (or -t) command-line flag makes it generate one SVG file per useful frame, which matches my use case very well. termtosvg has no web embedding, no service to host sessions online and the main developer left the project, but I still chose to use it as it seems to work for my use case. The terminal color theme is easy to customize: I just copied one of the base themes and put colors from my kitty dark theme in it:
<svg xmlns="http://www.w3.org/2000/svg" xmlns:xlink="http://www.w3.org/1999/xlink" id="terminal" baseProfile="full" viewBox="0 0 656 325" width="656" version="1.1">
    <defs>
        <termtosvg:template_settings xmlns:termtosvg="https://github.com/nbedos/termtosvg">
            <termtosvg:screen_geometry columns="82" rows="19"/>
            <termtosvg:animation type="css"/>
        </termtosvg:template_settings>
        <style type="text/css" id="generated-style"></style>
        <style type="text/css" id="user-style">
            .foreground {fill: #dcdfe4;}
            .background {fill: #282c34;}
            .color0 {fill: #282c34;}
            .color1 {fill: #e06c75;}
            .color2 {fill: #98c379;}
            .color3 {fill: #e5c07b;}
            .color4 {fill: #61afef;}
            .color5 {fill: #c678dd;}
            .color6 {fill: #56b6c2;}
            .color7 {fill: #dcdfe4;}
            .color8 {fill: #282c34;}
            .color9 {fill: #e06c75;}
            .color10 {fill: #98c379;}
            .color11 {fill: #e5c07b;}
            .color12 {fill: #61afef;}
            .color13 {fill: #c678dd;}
            .color14 {fill: #56b6c2;}
            .color15 {fill: #dcdfe4;}

            @page {
                margin: 0;
                padding: 0;
            }
        </style>
    </defs>
    <svg id="screen" width="656" height="323" viewBox="0 0 656 323" preserveAspectRatio="xMidYMin slice"></svg>
</svg>
Finally, here is an example usage of termtosvg to record a terminal session into images (one SVG per frame into an output-frames directory), while using my custom theme: termtosvg ./output-frames --still-frames -t mpoquet.svg.
And here is a video of its usage (recorded with asciinema. Oh, the irony!).

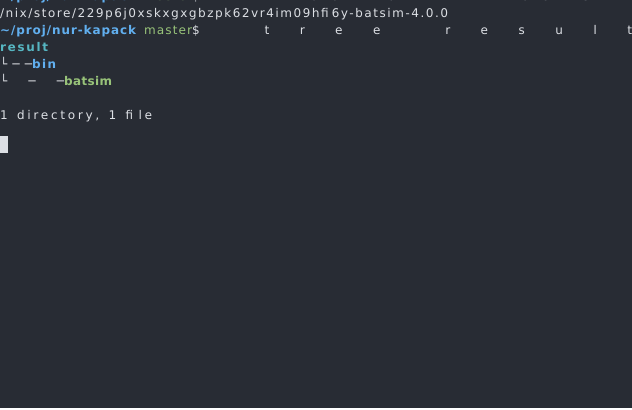
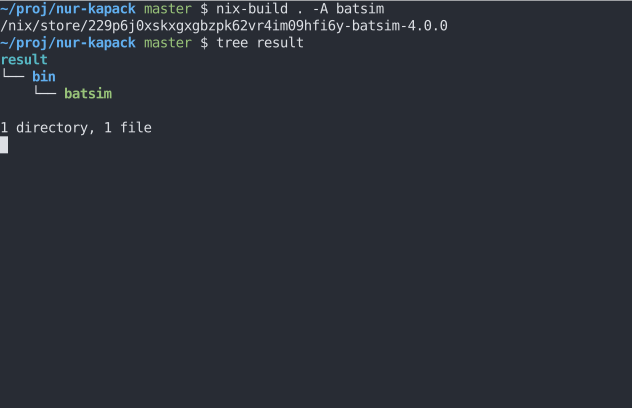
And here is an example frame as generated by termtosvg.
Please note that contrary to asciinema, the image renders exactly as in my terminal theme. I also reduced the terminal size contrary to the video example, to avoid small text on a huge empty background (this can be done in termtosvg command-line interface, by default it captures the current terminal size).
Converting termtosvg SVG to PDF
I plan to include the terminal images in a Beamer presentation, but SVG is not supported by my usual latex suite. File formats usually chosen for this are postscript and PDF. I chose to use PDF so I need something to convert SVGs to PDFs.
I most of the time use inkscape for this, with a command similar to inkscape --export-pdf=inkscape-example.pdf termtosvg-example.svg. Unfortunately, inkscape renders an ugly mess instead of a clean screenshot as I write these lines (tested with Inkscape 0.92.4 (5da689c313, 2019-01-14)). Here is what it looks like (this is a raster graphics, but the PDF is rendered exactly the same by my PDF renderers).
I hacked the SVGs in Firefox’s on-the-fly CSS editor to see if some properties are not well handled by inkscape, and it seems that the following CSS section is not rendered correctly by inkscape.
text {
  dominant-baseline: text-before-edge;
  white-space: pre;
}
I tried other command-line tools (cairosvg and rsvg-convert) but none of them could render the generated SVGs correctly.
As web browsers render the file correctly, why not use them to generate a PDF? Chromium can print a PDF from a SVG via its command-line.
chromium --headless --disable-gpu \
         --run-all-compositor-stages-before-draw \
         --print-to-pdf-no-header \
         --print-to-pdf=chromium-example.pdf termtosvg-example.svg
Yay, this generated a non ugly PDF!
Unfortunately, there is a huge border around the image and I could not find command-line options to make Chromium crop the image automatically, so…
Cropping PDF images
Now, let us see how to crop a PDF so that there is no useless border around the image we want.
First, I tried to use pdfcrop (bundled in latex suites).
I tried commands such as pdfcrop chromium-example.pdf cropped.pdf or pdfcrop --margins '0 0 0 0' chromium-example.pdf cropped.pdf, but this did not remove all the white border around the image.
Then I tried pdfCropMargins. It was not packaged in Nix but writing Nix packages for Python packages from PyPI is straightforward so I could make it work. By default pdfCropMargins takes the debatable choice to retain 10 % of the initial borders, but command-line options make it only retain the useful part of the image.
pdf-crop-margins -p 0 -o cropped.pdf chromium-example.pdf
Finally, the cropped PDF can be included in slides smoothly!
Here is the Nix expression I wrote to package pdfCropMargins:
{
  pkgs ? import (fetchTarball "https://github.com/NixOS/nixpkgs/archive/20.09.tar.gz") {}
}:

rec {
  pythonPackages = pkgs.python3Packages;
  buildPythonPackage = pythonPackages.buildPythonPackage;

  pdfcropmargins = buildPythonPackage {
    name = "pdfcropmargins-1.0.5";
    propagatedBuildInputs = [
      pythonPackages.setuptools_scm
      pythonPackages.pypdf2
      pythonPackages.pillow
    ];
    src = builtins.fetchurl {
      url = "https://files.pythonhosted.org/packages/7f/f1/cfa4875dd77fb0d0a992c8579264ba75b665393d9a58533bb2231ae9f368/pdfCropMargins-1.0.5.tar.gz";
      sha256 = "76fd16b3955e11b2a9fc3ad839342d6528f10324908a4a8f04f94ecda68205b3";
    };
  };
}